
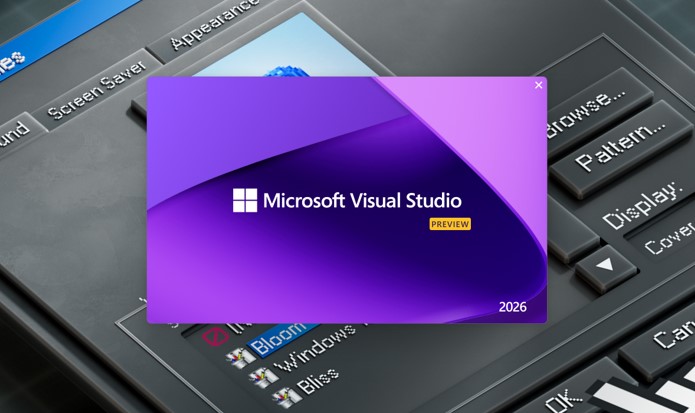
Visual Studio 2017 / 2019 - Installation & Activation
This guide provides step-by-step instructions to help you successfully install and activate Visual Studio for the following supported versions:Visual Studio 2017
Visual Studio 2019Before You StartMake sure you have:Windows 10 or 11
4 GB RAM minimum (8+ GB recommended)
10–20 GB free disk space
Stable internet connection
Microsoft account (required for download and activation)
Product key...
Continue Reading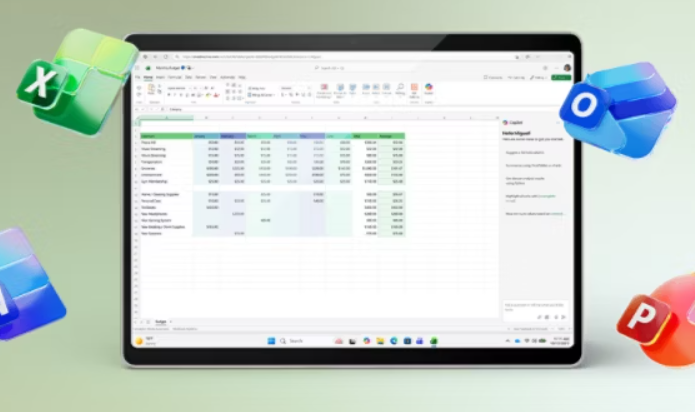
Office Home & Business 2016 / 2019 / 2021 – Installation & Activation
This guide provides step-by-step instructions to help you successfully install and activate Offfice Home & Business for the following supported versions:Office Home & Business 2016
Office Home & Business 2019
Office Home & Business 2021Before You StartA valid Office Home & Business product key (2016, 2019, or 2021)
A Windows or macOS device...
Continue Reading
Office 2019 / 2021 Home & Student – Installation & Activation
This guide provides step-by-step instructions to help you successfully install and activate Office Home & Student for the following supported versions:Office 2019 Home & Student
Office 2021 Home & StudentBefore You StartBefore you begin the installation and activation process, please ensure you have the following:A valid Office 2019 / 2021 Home...
Continue Reading
Microsoft Visio 2016 / 2019 / 2021 - Installation & Activation
This guide will help you install and activate Microsoft Visio Professional for any of the following versions:Visio 2016 Professional
Visio 2019 Professional
Visio 2021 ProfessionalAll versions install the same way and share nearly identical activation steps.Just follow the instructions below.Before You StartMake sure you have:A valid Visio product key (2016, 2019, or...
Continue Reading
Microsoft Project 2016 / 2019 / 2021 - Installation & Activation
This guide will help you install and activate Microsoft Project Professional for any of the following versions:Project 2016 Professional
Project 2019 Professional
Project 2021 ProfessionalAll three versions install the same way and use similar activation steps.Just follow the instructions based on your version.Before You StartYou will need:A valid Project product key(Make sure...
Continue Reading
Office 2016 Professional Plus - Installation & Activation Guide
This guide will help you download, install, and activate Microsoft Office 2016 Professional Plus using the official Microsoft setup page or ISO file.The steps are simple and beginner-friendly.Before You StartYou will need:A valid Office 2016 Professional Plus product key
A PC running Windows 7, 8, 8.1, 10, or 11
A Microsoft Account...
Continue Reading
Office 2019 Professional Plus - Installation & Activation Guide
This guide will help you quickly install and activate Microsoft Office 2019 Professional Plus on your Windows PC.No tech skills needed - just follow the simple steps below.Before You BeginMake sure you have:A valid Office 2019 Professional Plus product key
A Windows 10 or Windows 11 PC
An internet connection
Access to a...
Continue Reading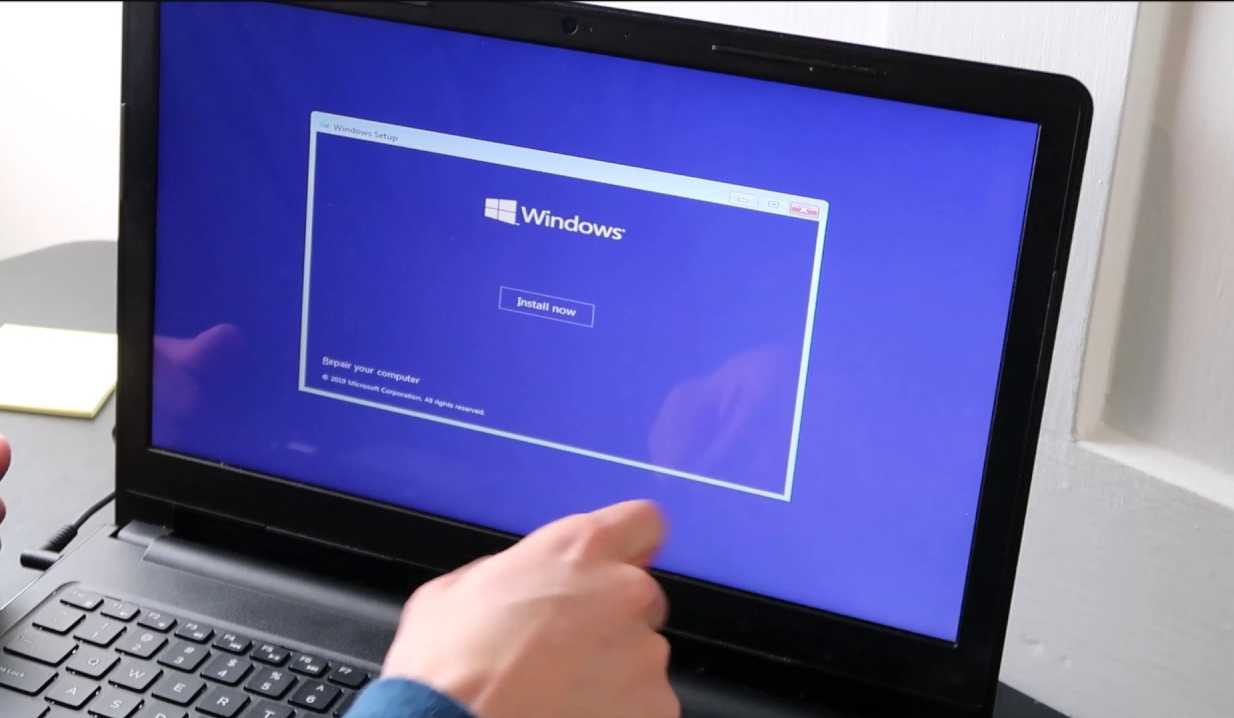
Windows 10 - Installation & Activation Guide
This guide will show you how to download, install, and activate Windows 10 on your computer.Whether you're upgrading or doing a clean install, the steps are simple and easy to follow.Before You BeginMake sure you have:A Windows 10 product key
A USB drive (8GB or more) if you plan a clean...
Continue Reading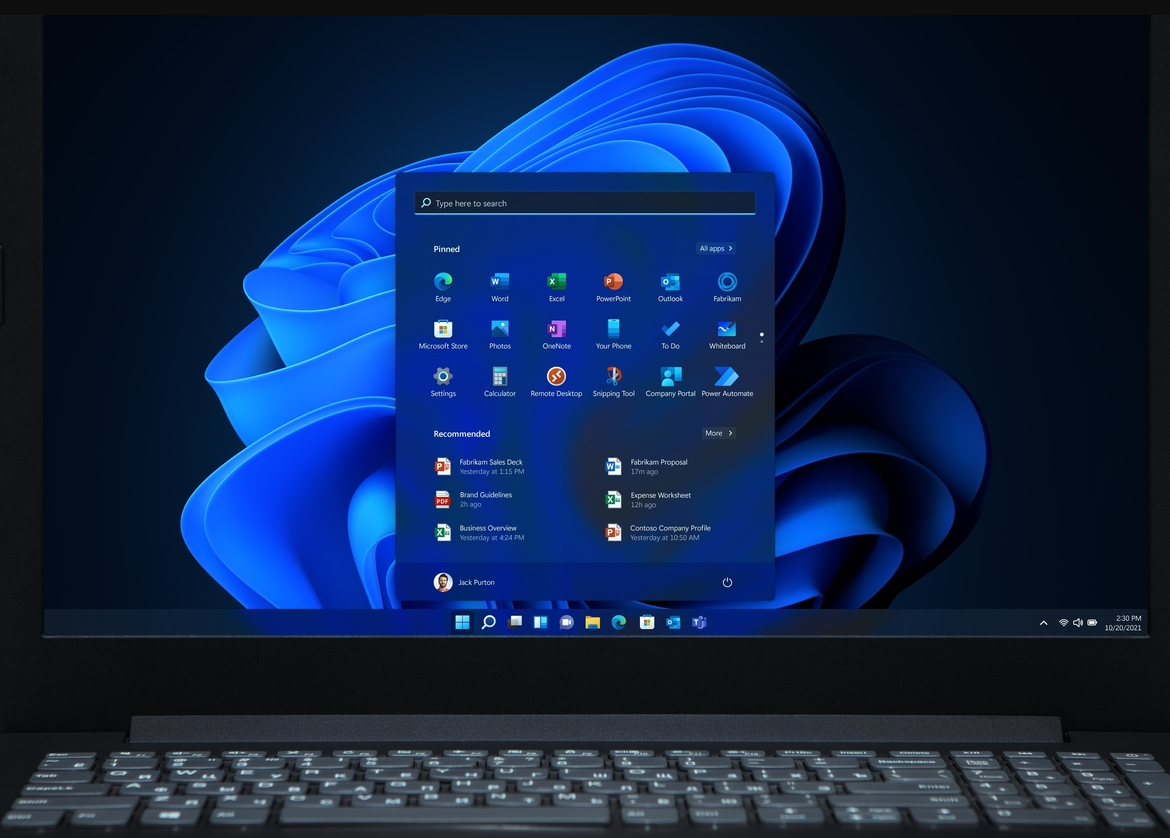
Windows 11 - Installation & Activation Guide
This guide will help you install Windows 11 on your PC and activate it using your product key.No technical experience needed - just follow the steps in order.Before You BeginMake sure you have:A Windows 11 Pro or Home product key
A USB drive with at least 8GB (for clean installation)
A stable...
Continue Reading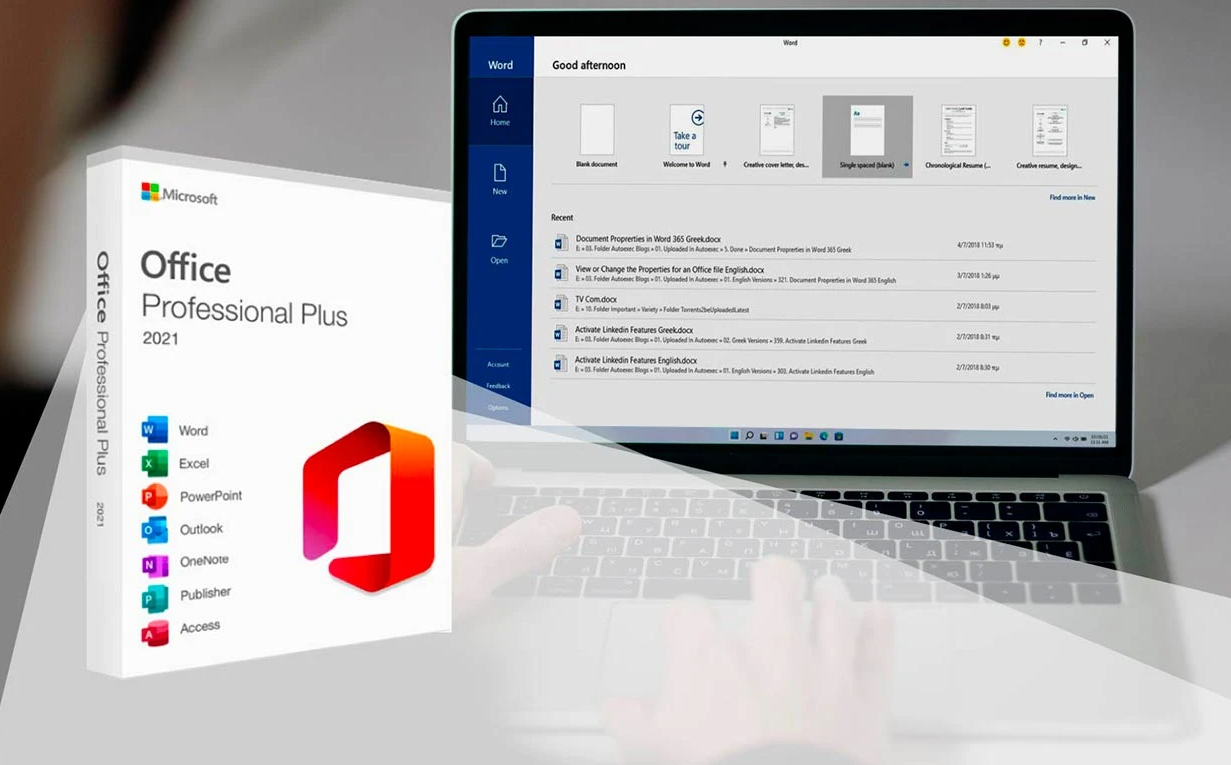
Office 2021 Professional Plus - Installation & Activation Instructions
This quick guide will help you download, install, and activate Microsoft Office 2021 Professional Plus on your Windows PC.What You Need Before StartingMake sure you have:A valid Office 2021 Professional Plus key
A Windows 10 or Windows 11 PC
An internet connection
Access to a Microsoft Account (free)That’s all - you’re ready!Step 1...
Continue Reading